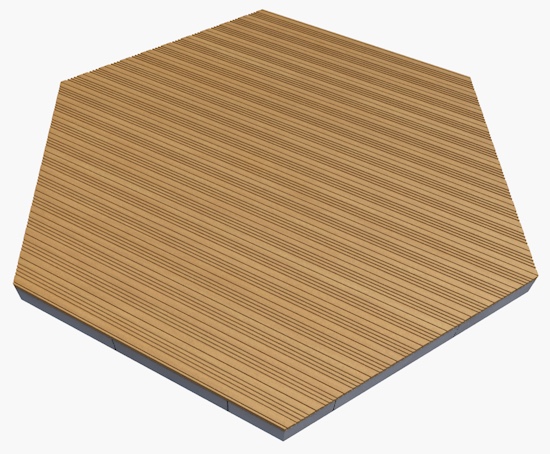
If you use the Ci Slab Coverings tool to create a Timber deck, you’ll notice that the edges are left unfinished (like in the image below). This lets you choose which (if any) edges have a finish.
To apply an edge around a Slab with Decking applied you’ll need to turn on the ‘Edge Board’ condition for each edge:
1. Select the slab object in your 2D plan view
You’ll notice hotspots appear at the midpoint of each edge (as shown below). Each hotspot allows you to set the ‘Edge Board’ condition (either ‘On’ or ‘Off’):

2. Click on one of these hotspots
3. Move your mouse toward the center of the deck
You should see a preview line appear along with the ‘Full Board’ message in the Tracker:
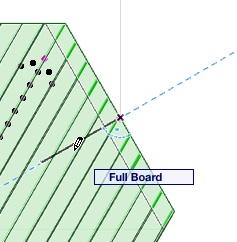
5. Once you see the ‘Full Board’ message, click to add the Edge Board.
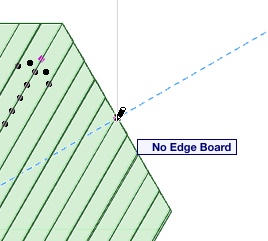
TIP: If you leave the mouse on the hotspot or move away from the decking you will see the No Edge Board message appear in the Tracker:
After adding Edge Boards to each edge, your deck should look similar to this: